
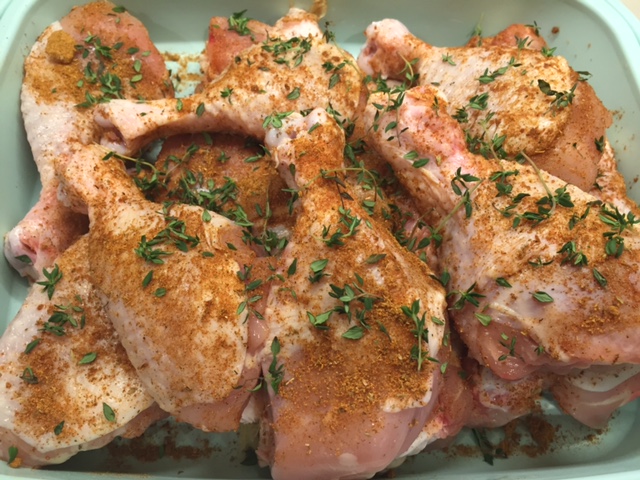
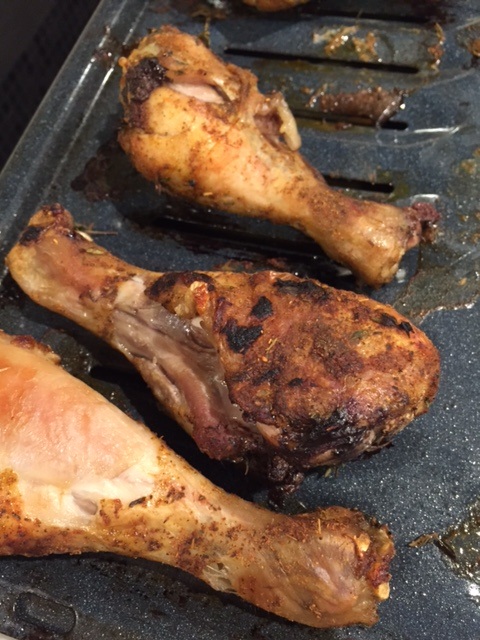
This recipe made it's first appearance in my Marinating Chicken post. It's so good, I decided it needed a post of its own! Grilling this is our favorite way to cook it, but all the cooking methods below taste delicious.
|
3-4 limes (1/3c)
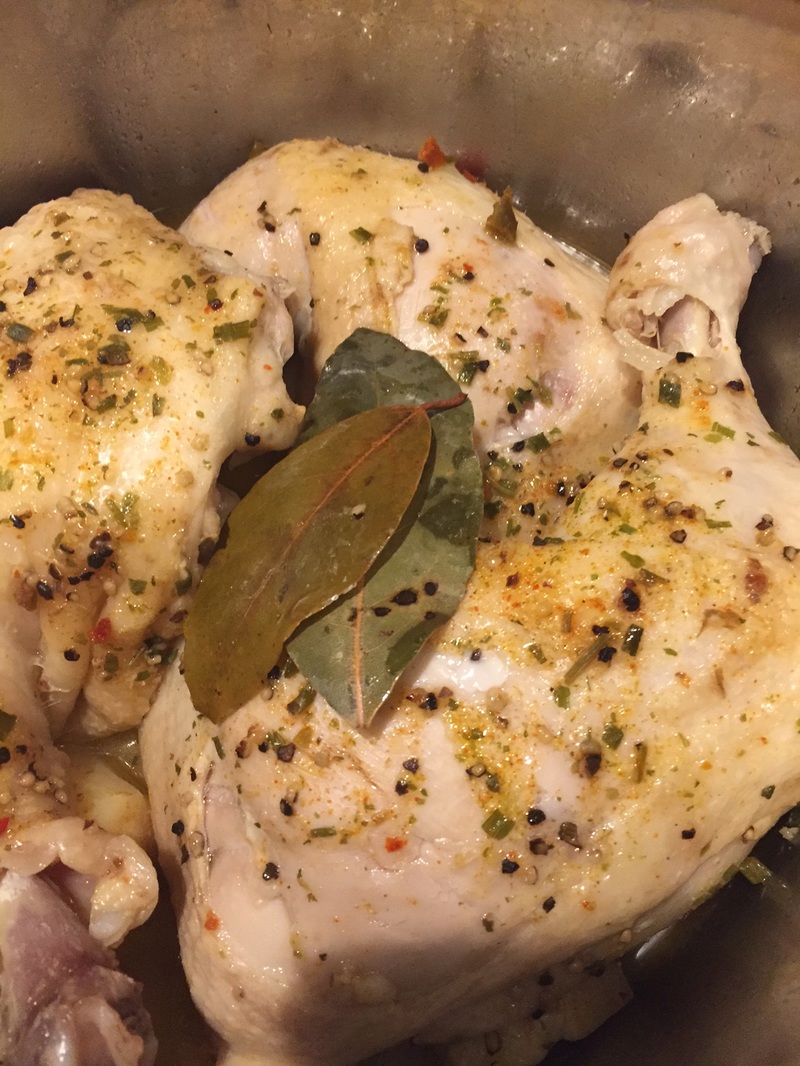
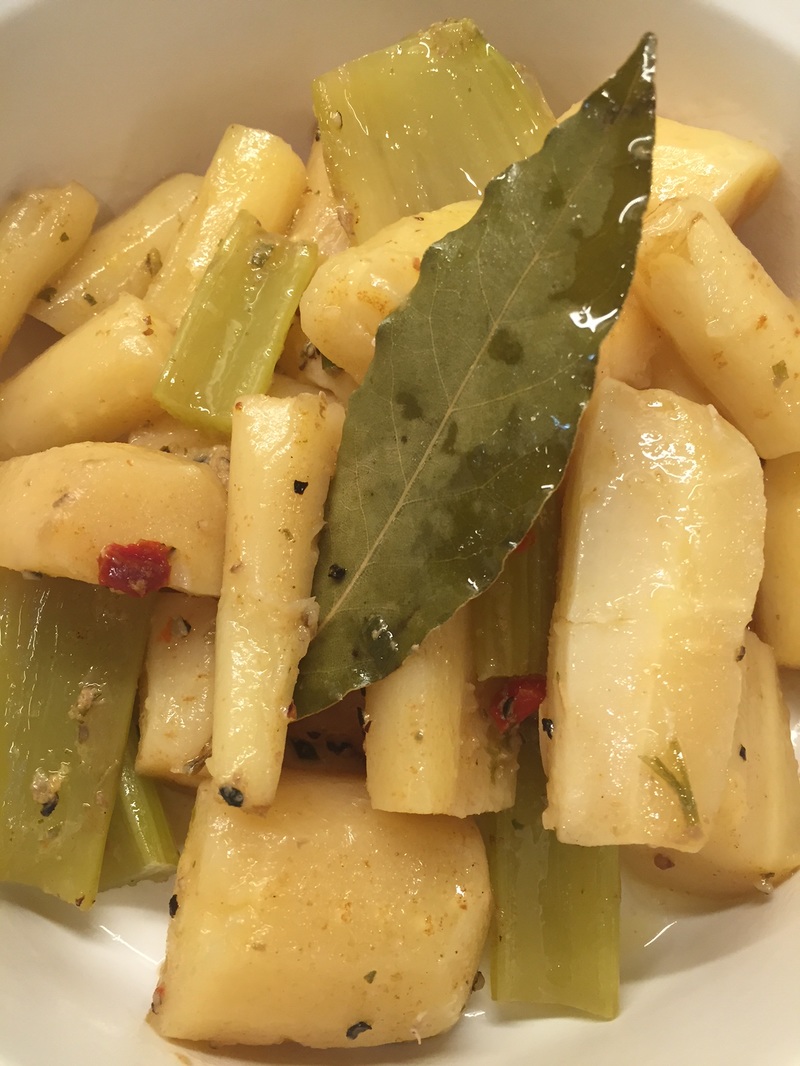
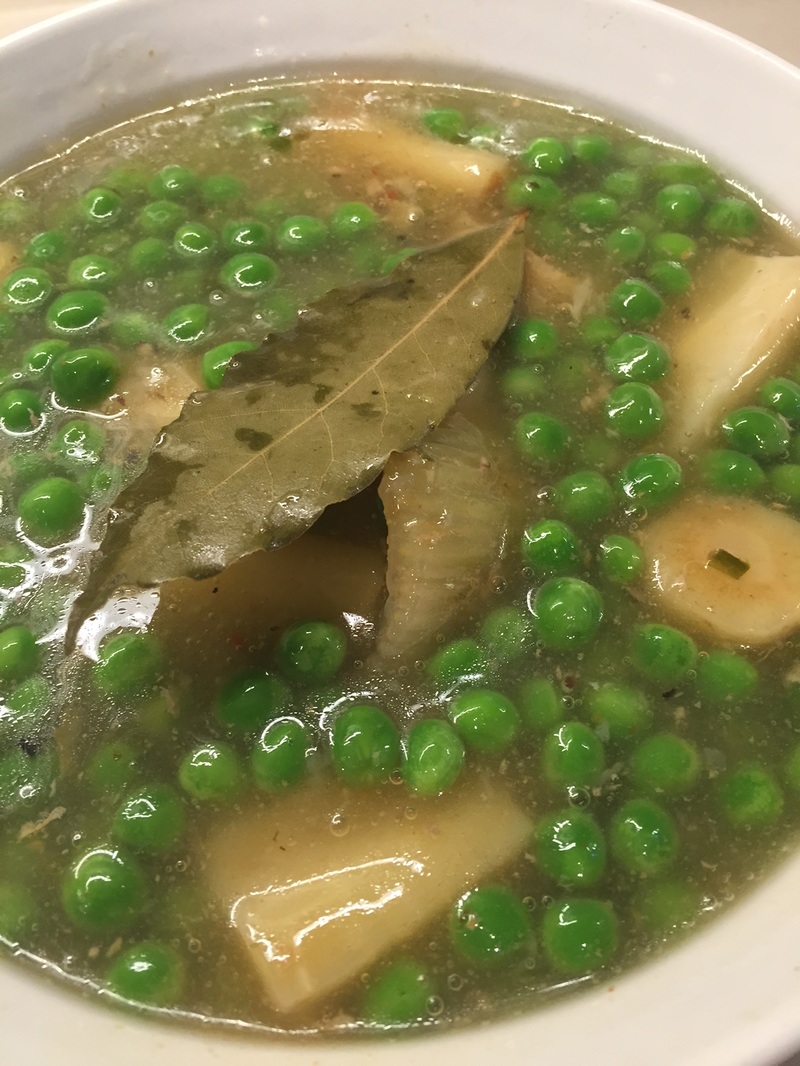
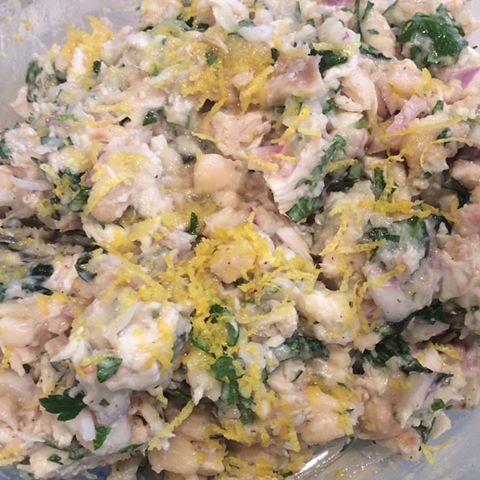
1/4 cup olive oil 1 can unpressed coconut milk 3-4 cloves garlic pressed 1/4 teaspoon ground ginger 2 teaspoons seasoned salt* 1/2 teaspoon black pepper 1/2 cup fresh parsley, chopped Combine all ingredients and pour over your chicken. Refrigerate for at least 30 min before cooking. If making this as a freezer meal, add all ingredients to a gallon size freezer bag, label and store until needed. Cooking Options: Bake (thawed or fresh) at 425 for 20-25 minutes - I use a meat thermometer to cook to 160 degrees then rest for five minutes before slicing; crockpot for 5-6 hours on low (6-7 hours from frozen); or grill (thawed or fresh) for 3-4 minutes per side, again using a meat thermometer to 160 degrees and allow to rest for five minutes before slicing. Instant Pot: Add the chicken, marinade and all, and cook on manual for 8-10 minutes depending how large your breasts are. Quick Release and serve immediately. If cooking from frozen, double your IP cook time to 16-20 minutes. Variations
*Homemade Seasoned Salt 1/4c pink himalayan salt 4t black pepper 1t paprika Combine well and store in a jar or container. |

|

I have included links for your convenience; some of these are affiliate links. It doesn't cost you any extra to order from them, and if you do purchase something using one of these links, I am given a small compensation from the seller. This helps me keep my blog up and running! For more questions please see my disclosure page.

 RSS Feed